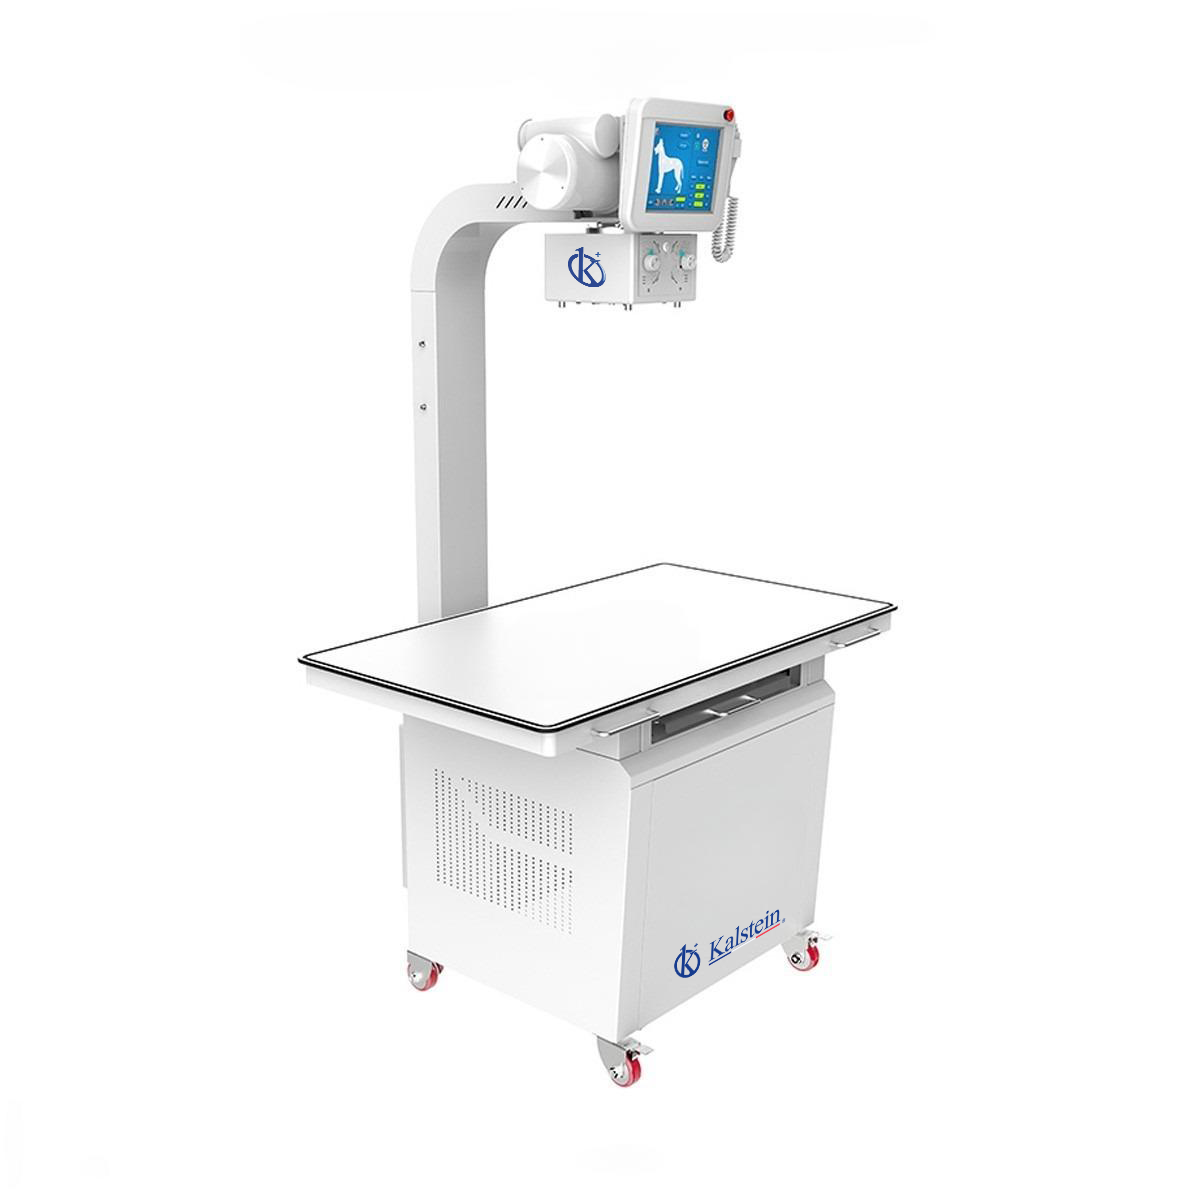
Site Requirements and Installation Conditions for the YR06162 Digital Veterinary X-ray System
The YR06162 Digital Veterinary X-ray System is an advanced tool designed for veterinary practices, providing high-quality imaging essential for diagnosing and treating animal health conditions. To ensure that this system operates effectively, specific environmental conditions and installation requirements must be strictly adhered to. This article outlines the necessary site conditions to optimize the performance and lifespan of the YR06162.
Understanding the YR06162 Digital Veterinary X-ray System
The YR06162 model comprises a high-frequency generator, collimator, Toshiba X-ray tube 7239, a pet table, a JPI network, a flat panel detector, and a computer with LCD. All components work together to deliver precise imaging while maintaining safety standards in veterinary practices.
Technical Specifications of the YR06162
| Specification | Detail |
|---|---|
| Model | YR06162 |
| Maximum Output Power | 16kW |
| Input Voltage Range | AC 220V±22V |
| Applicable Support | Radiography |
| Inverter Frequency | ≥30kHz |
| Tube Voltage Range | 40kV~125kV |
| Tube Current Range | 16~200mA |
| Exposure Time Range | 0.0025s~6.4s |
| Communication Interface | RS-232 |
Site Preparation Checklist for the YR06162
Proper site preparation is crucial for ensuring that the YR06162 operates efficiently. Below is a checklist of site requirements that should be verified before installation:
| Requirement | Details |
|---|---|
| Temperature Range | 5°C to 40°C |
| Humidity | 20% to 80%, non-condensing |
| Voltage and Frequency | 220V AC ±22V, 50/60Hz |
| Ventilation | Ensure adequate airflow; avoid enclosed or poorly ventilated areas |
| Vibration Control | Minimize vibrations from nearby equipment |
| Clearances | Maintain appropriate space around the equipment for operation and maintenance |
| Drainage | Ensure proper drainage if using liquid cooling |
Installation Steps for the YR06162
Once the site has been prepared, the installation process can begin. Here are the essential steps to follow:
- Unboxing and Inspection: Carefully unbox the YR06162 and inspect all components for damage.
- Anchoring and Leveling: Securely anchor the equipment to prevent movement and ensure it is level.
- Power-Up Sequence: Follow the manufacturer’s guidelines to power up the system.
- First-Run Calibration: Perform calibration as per the operational manual to ensure accuracy.
- Network Setup: Configure the necessary network settings for data integration.
- Validation of Initial Measurements: Conduct test imaging to validate the performance of the system.
Common Installation Mistakes to Avoid
To maximize the performance of the YR06162, avoid these common installation pitfalls:
- Neglecting temperature and humidity conditions can lead to equipment malfunction.
- Inadequate space for maintenance can hinder future service and repairs.
- Failing to adhere to the power connection specifications can result in damage to the system.
Frequently Asked Questions
What are the environmental conditions necessary for operating the YR06162?
The YR06162 requires specific environmental conditions, including a temperature range of 5°C to 40°C and a humidity level of 20% to 80% (non-condensing), to function optimally.
What are the best practices for installing the YR06162?
Best practices include verifying all environmental conditions, ensuring proper leveling and anchoring, following the power-up sequence accurately, and performing calibration before initial use.
How do I troubleshoot common installation issues with the YR06162?
Common issues include checking power connections, ensuring proper ventilation, and validating network settings. Refer to the operational manual for specific troubleshooting steps.
How often should the YR06162 be serviced?
Regular maintenance is recommended every 12 months to ensure the system operates correctly and to identify any potential issues before they become severe.
What components should be included in the installation of the YR06162?
The installation should include the X-ray tube, flat panel detector, computer with LCD, and necessary connection cables as outlined in the product manual.
Are there any specific safety measures during installation?
Yes, it is essential to follow safety protocols relating to radiation exposure and electrical safety, ensuring all personnel are trained in the handling of X-ray equipment.
If you are looking for a fusion of innovation and quality, you have come to the right place. At Kalstein, we offer you the luxury of exploring our exclusive catalog of laboratory equipment. We manufacture every device to the highest standards of excellence. Our intuitive and seamless online purchasing channels are designed for your convenience, securing the most competitive prices. Hesitate no longer — we bring science to life, it is time to become part of our community.