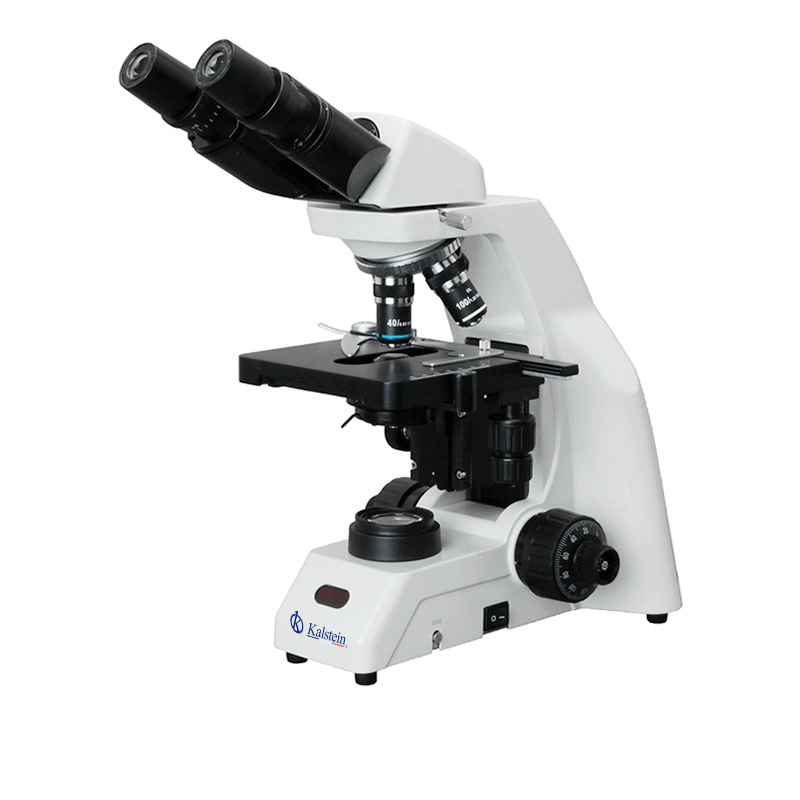
Installation and Start-up Guide for the YR0240-1 Trinocular Microscope
The YR0240-1 Trinocular Microscope is a sophisticated piece of laboratory equipment designed for optimal performance in various applications. This guide aims to provide detailed instructions for installing and commissioning the YR0240-1, ensuring that users can operate the device smoothly from the outset.
Understanding the YR0240-1 Microscope
The YR0240-1 features advanced optical and mechanical components, including a Seidentopf binocular viewing head and a wide range of objective lenses. It is essential to familiarize yourself with these components before proceeding with installation.
Technical Specifications of the YR0240-1
| Specification | Details |
|---|---|
| Model | YR0240-1 |
| Optical System | Finite optical system |
| Eyepiece | WF10X/18 |
| Viewing Head | Trinocular Seidentopf head inclined at 30°, interpupilar 47-78 mm |
| Focusing System | Coaxial coarse and fine adjustment, fine division of 0.002 mm, mobile range of 25 mm |
| Condenser | Dark field condenser (dry, oil) |
| Illumination | S-LED illumination |
Unboxing Checklist
When unboxing the YR0240-1, ensure you have all the components as listed below:
- Microscope body
- Trinocular head
- Objective lenses (4X, 10X, 40X, 100X)
- Condenser
- Illumination source
- Power cable
- User manual
Setting Up the YR0240-1 Microscope
Follow these steps to set up the YR0240-1:
- Positioning: Place the microscope on a stable, flat surface. Ensure it is located away from direct sunlight and extreme temperature variations.
- Leveling: Use a bubble level to ensure that the microscope is perfectly leveled. Adjust the feet if necessary.
- Connecting Power: Plug the power cable into a power outlet following the voltage specifications.
- Installing Objectives: Secure the desired objective lens into the revolving nosepiece.
- Aligning the Condenser: Position the condenser properly for optimal light delivery based on the objective lens used.
Powering Up the YR0240-1
To initiate the first power-up:
- Switch on the power using the main power button.
- Adjust the brightness of the light source to a comfortable level.
- Choose the appropriate objective lens based on the specimen being observed.
After powering on, verify that all components are functioning as expected.
First-Run Calibration
Calibration is crucial to ensure accuracy in observations:
- Using a calibration slide, place it on the stage and focus at low power first.
- Switch to higher magnification and adjust the focus until clarity is achieved.
- Record the calibration values as references for future measurements.
Common Setup Mistakes to Avoid
- Not leveling the microscope properly, leading to distorted images.
- Incorrectly attaching the eyepiece or objective lenses.
- Failing to adjust the condenser, which can result in poor illumination.
Frequently Asked Questions
What are the primary features of the YR0240-1 Trinocular Microscope?
The YR0240-1 Trinocular Microscope includes features such as a Seidentopf binocular head, multiple objective lenses, and a coaxial focusing system, enabling detailed and accurate observations in various settings.
How do I perform the initial calibration on the YR0240-1?
Initial calibration involves using a calibration slide, focusing at low power, and adjusting to higher magnifications while recording calibration values for future references.
What should I do if the YR0240-1 does not power on?
If the microscope does not power on, check the power connection, ensure the power switch is in the ON position, and verify that the outlet is functioning properly.
How can I maintain the YR0240-1 Microscope for longevity?
Regular maintenance includes cleaning the optical components carefully, ensuring all moving parts are lubricated, and storing the microscope in a dust-free environment when not in use.
Are additional accessories available for the YR0240-1?
Yes, various accessories like additional objective lenses, filters, and specialized illumination options are compatible with the YR0240-1 to enhance its capability.
What are the common troubleshooting steps for imaging issues on the YR0240-1?
Common troubleshooting steps include checking the alignment of the objectives, adjusting the condenser, and verifying the light source is functioning correctly.
How do I ensure optimal lighting conditions for the YR0240-1?
Optimal lighting conditions can be ensured by adjusting the brightness of the S-LED illumination and properly aligning the condenser based on the objective being used.
If you are looking for a fusion of innovation and quality, you have come to the right place. At Kalstein, we offer you the luxury of exploring our exclusive catalog of laboratory equipment. We manufacture every device to the highest standards of excellence. Our intuitive and seamless online purchasing channels are designed for your convenience, securing the most competitive prices. Hesitate no longer — we bring science to life, it is time to become part of our community.